We all have those days when getting out of bed the morning after a tough CrossFit workout or a PR-scoring race seems tough. Or when your schedule is so jam-packed with to-dos you’re not ready to face the chaos. Well, there’s one simple way to remedy both problems: restorative yoga.
“Restorative yoga is based on the down regulation of your nervous system,” says Alexis Novak, a LA-based yoga instructor who teaches at Love Yoga Space. Unlike the extracurriculars we often seek out to amp up our heart rate and over-stimulate our minds, we need to give ourselves a breather from time to time. “When doing restorative yoga, you’re eliminating the outer stimulus. It’s not about having the body exert energy, but rather re-focusing on breathing and letting everything go back to baseline,” Novak explains.
Whether you’re experiencing super sore muscles or a racing mind (or both!), these five restorative yoga poses will help you chill out and say “aah.”
RELATED: Are You Too Sore to Work Out? (Plus Recovery Tips)
5 Restorative Yoga Poses to Relax Your Muscles (And Your Mind)
In a traditional restorative yoga practice, you’d hold each of these poses for five minutes. Make that your goal, as you concentrate solely on inhaling and exhaling. You shouldn’t feel discomfort at any time. If you do, use a bolster (like a long pillow or folded blanket) to help you get in a more relaxed position. Just remember, the goal is to settle into each pose, rather than quickly moving from one to the other. Do all five poses for a full practice or separately mix them into your day whenever you need a few minutes of peace.
RELATED: Stressed? These GIFs Will Help You Relax, Stat
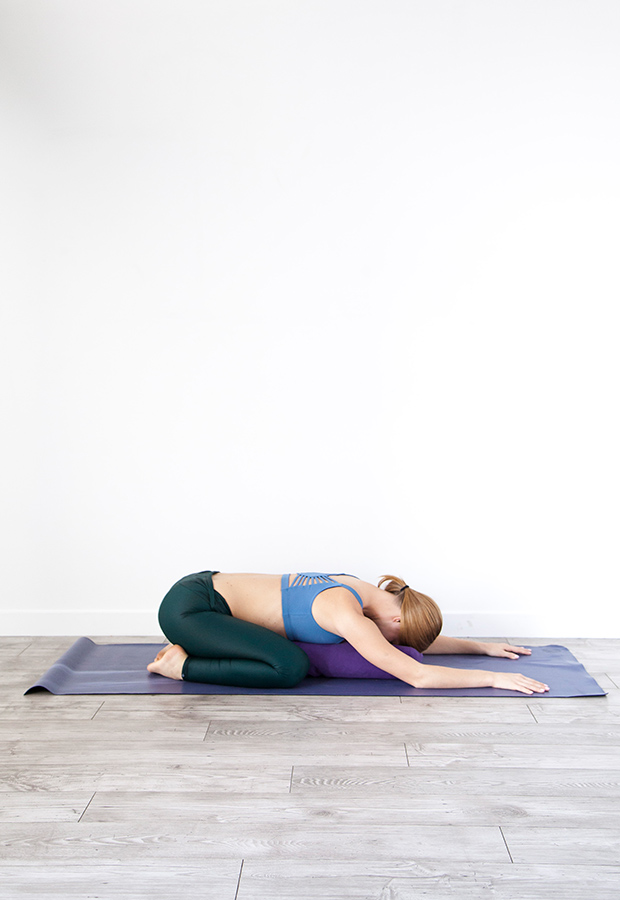
1. Child’s Pose (balasana)
How to: Start in a table top position. Move knees to the outer edges of your mat and rest the tops of your feet on the mat. Push your hips back. Keep your arms straight out in front of you, palms on the ground or place them down by your hips, resting the back of your hands on the ground. If you’re using a bolster, it should be at the base of your pelvis, with your chest resting on it.
Instructor insight: You want your forehead to rest on the mat — it’s one of the best ways to really de-stress. A bolster under your chest and stomach will also help you get into zen mode thanks to the more relaxed position. You’ll stretch your hip complex, glutes and upper back, aka a desk worker’s dream.
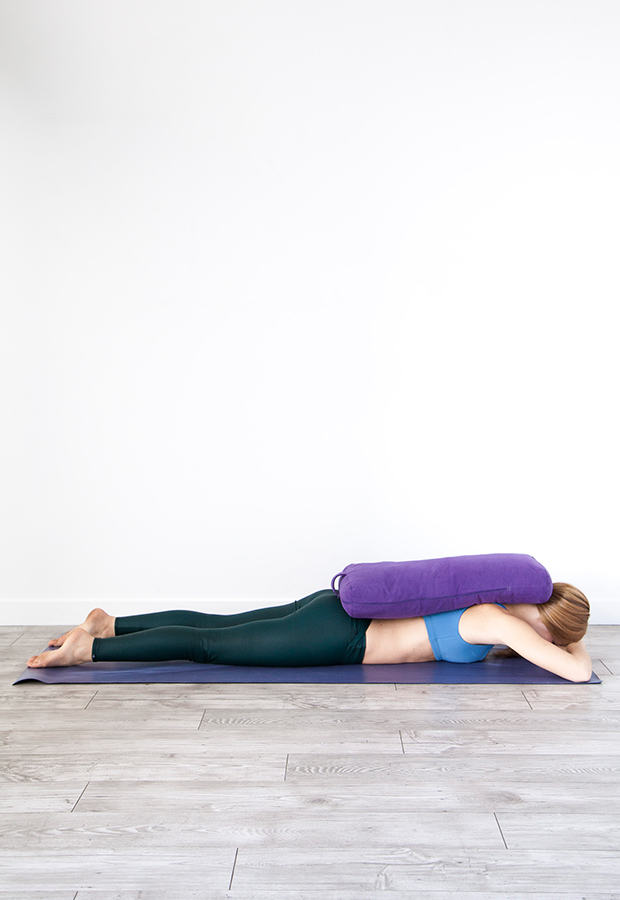
2. Crocodile Pose (makarasana)
How to: Lay completely on your belly, hands stacked on top of each other. Rest your head on the back of your hands.
Instructor insight: Try not to let your pelvis tilt, but maintain a position that feels comfy to you. This will help ease discomfort in your low back and shoulders (often due to that hunched-over-a-computer position). Placing a bolster on your upper back will allow for an even more calming sensation.
RELATED: 5 Standing Desk Stretches to Relieve Stress Now
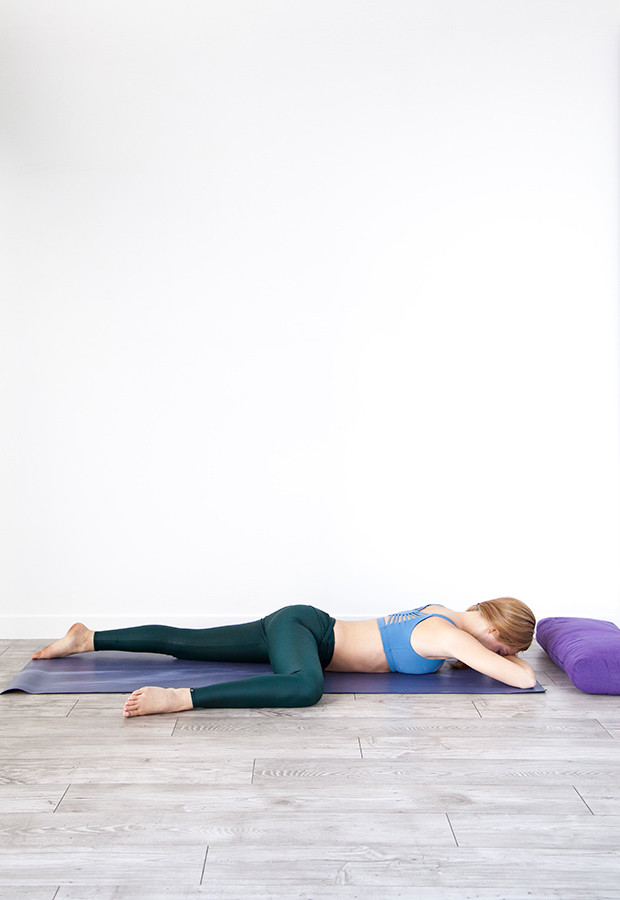
3. Half Frog Pose (ardha bhekasana)
How to: From the crocodile pose, keep your upper body where it is and bring your right knee, bent at about 90 degrees, in line with the hip. Move your knee up toward your armpit if you want more of a stretch. (Keep in mind, you shouldn’t feel strain or pain.)
Instructor insight: This simple change in position opens up your hips, inner thighs and pelvic floor. If you have sensitive knees, prop a pillow or blanket under your bent knee.
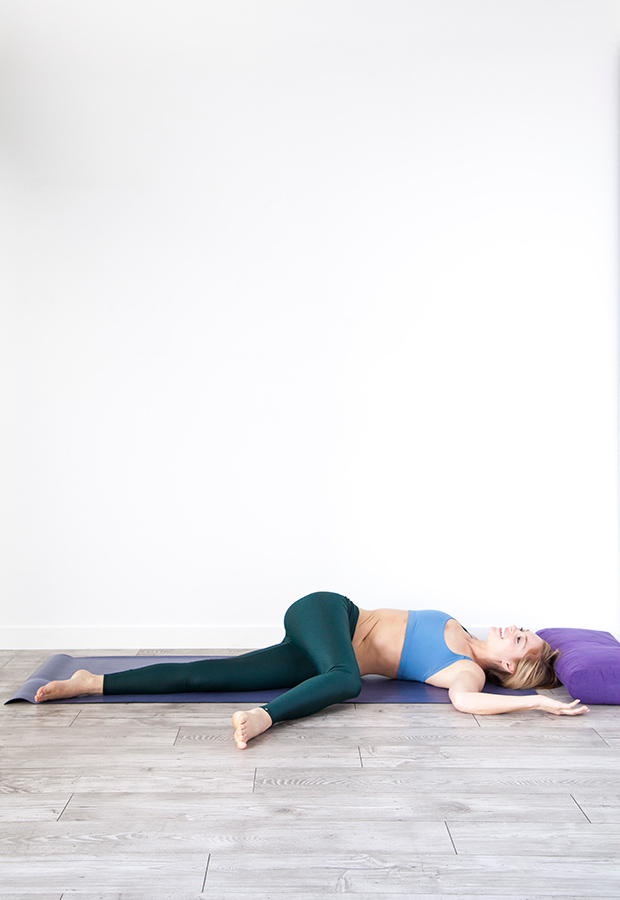
4. Supine Twist (supta matsyendrasana)
How to: Moving from the half frog position, reach your right arm straight above your head and roll toward your left side. You should land on your back with your right leg and knee across your body, arms out to the sides, elbows bent about 90 degrees.
Instructor insight: Known as a detoxing position in the yogi world, this supine twist elongates and wrings out the back muscles and is said to help with digestion. It also stretches the low belly and back, as well as the deep abdominal muscles.
*Repeat poses two through four on your left side.
RELATED: 15 Stretches You Should Do Every Damn Day
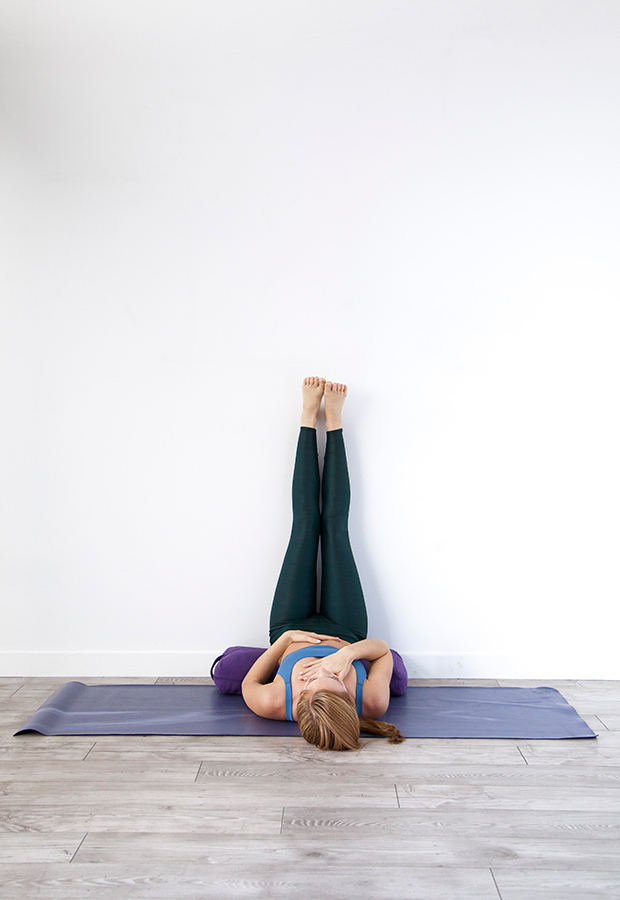
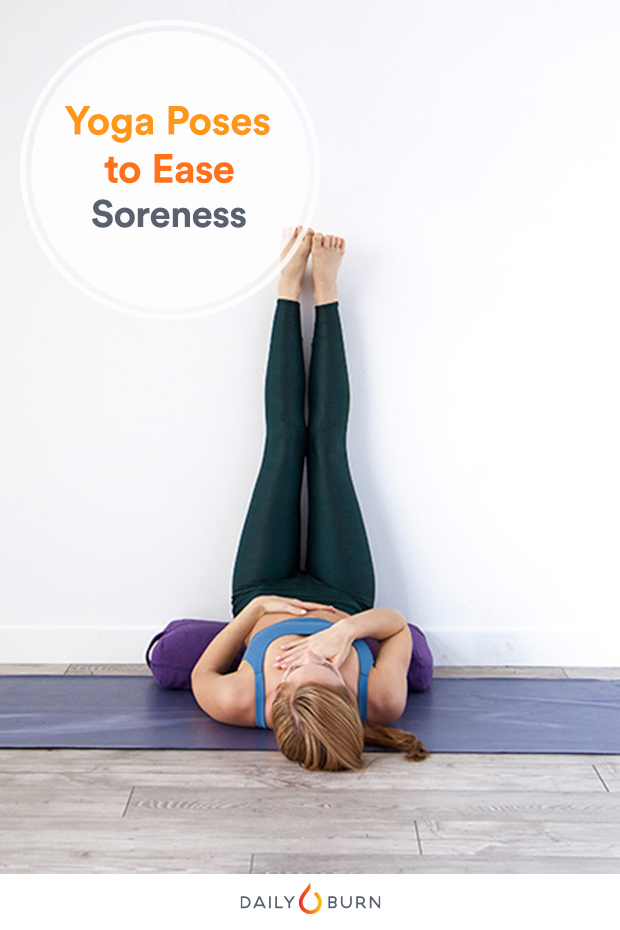
5. Legs Up the Wall Pose (viparita karani)
How to: First get into a fetal position and shimmy yourself until your butt hits the wall. Then lift your legs up the wall and roll onto your back. You don’t want to have too deep of a stretch in the hamstrings, so if you feel pain, adjust so you’re more relaxed.
Instructor insight: You’ll relieve tension in your back, the muscles in your diaphragm that help with breathing and your pelvic floor. To stimulate fluid in your hip socket — which will make walking more comfortable — put your bolster on the top of your feet to add some pressure to your femur (which connects to your hip socket).
