Ideally, you’d have a personal yoga teacher to tell you every time your feet or hands aren’t in the proper places for key yoga poses. That way, you’d feel the “oohs” and “aahs” in all the right spots. But unfortunately, instructors can’t be everywhere at once, so a few form mistakes may slip by them. That doesn’t mean you can’t get aligned like the pros, though. We asked experts to ID the most common missteps, whether they’re committed by beginners or experienced yogis. Keep reading to ensure your yoga game is as on point as possible.
RELATED: 8 Things Experts Wish You Knew About Yoga
6 Popular Yoga Poses People Get Wrong
Mistake #1: Putting your feet too close to your hands in downward-facing dog
This happens all the time, says Rhode Island-based yoga instructor Jessie Dwiggins. But its easy to position your hands and feet properly. “Start in a high plank with the hands directly underneath the shoulders,” Dwiggins says. “Then lift the hips up and back.” If your heels don’t touch the floor, that’s OK — it’s just a sign that your hamstrings are tight. You can always slide a blanket under your heels to have something to press into. What’s more important is that your weight is evenly distributed between both of your hands and feet, and that you activate your upper-arm muscles and core. You should notice a stretch down the backs of your legs.
Mistake #2: Letting your shoulders tense up in chaturanga
If you sit at a desk most days, you probably roll your shoulders forward without even realizing it. Well, think of the chaturanga as the opposite of that hunched-over-your-computer posture. “Chaturanga requires the shoulder blades to slide down the back, as the head of the shoulders lift away from the floor,” says Dwiggins. (You should feel an opening in your chest.) With your shoulders by your ears, you could put unnecessary strain on your upper body, which can lead to rotator cuff issues, Dwiggins says.
RELATED: How to Maximize Your Yoga Calorie Burn
Mistake #3: Leaning into the balls of your feet in mountain pose
The idea here (and in any pose): No matter what part of your body is touching the floor, you should have a firm, grounded connection. So putting too much pressure on your pinky or thumb in poses like plank or downward-facing dog is also problematic. “In down dog, people get a lot of wrist pain, often because they’re leaning on the pinkies,” says Gwen Lawrence, yoga coach and owner of Power Yoga for Sports. Think about plugging your whole hand or foot into the floor and distributing the weight as evenly as possible.
Mistake #4: Rounding the lower back too much in forward bends
People tend to push their hips back when bending forward in poses like standing forward fold, dolphin and pyramid, because it seems easier. But that can compromise your lower back, says Dwiggins. Instead, keep your hips directly over your heels, maintain a flat back and reach your tailbone up toward the ceiling. Using blocks under your hands can also help you avoid back aches. “This adjustment brings a much better stretch into the hamstrings, and it’s a little safer,” says Dwiggins.
RELATED: Can Yoga Help Relieve Your Asthma?
Mistake #5: Looking straight down in crow
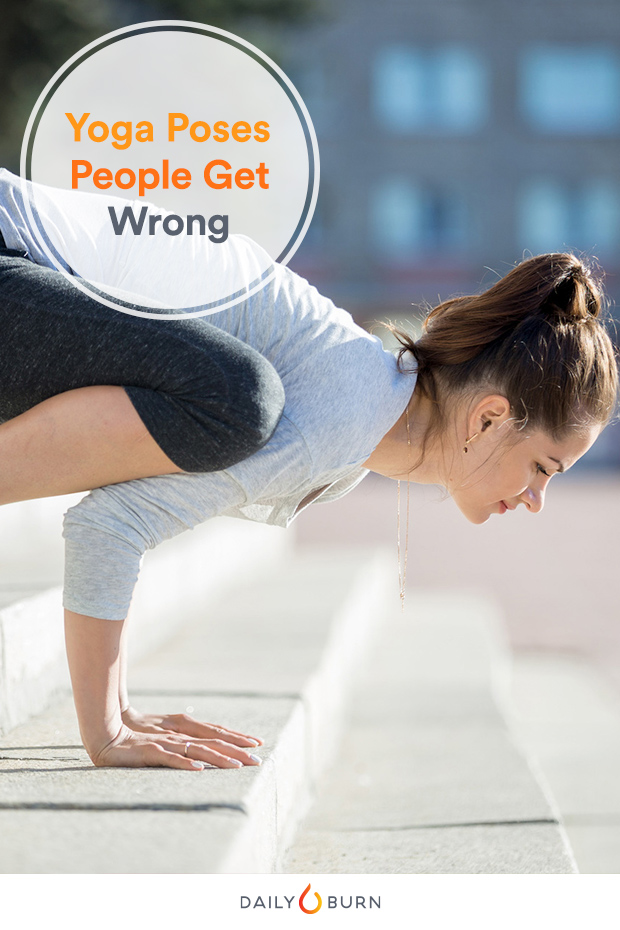
If you want to master any arm balance, where you look is crucial. “You need to focus away and out,” says Lawrence. “This gives you three points of balance, with two being your hands and the third being your gaze.” You’re also less likely to fall forward if you’re looking ahead, not down. During your next attempt at crow (or if you get crazy with a one-leg arm balance), try switching your stare from the floor, forward and you might find you’re suddenly able to stick it. (Need more tips on pulling off crow pose? Follow these three steps.)
Mistake #6: Doing headstand against a wall to prep for a real headstand
If you don’t have the strength needed to do a headstand, it’s best to keep a foot or two on the floor, rather than using a wall for assistance. “It gives a false sense of security, and people can get hurt when they attempt it without the barrier,” Lawrence says. Instead, try this modification that’ll help you work your way up: Start on your hands and knees. Put the top of your head on the floor and bend your elbows 90 degrees (upper arms parallel to the floor). Experiment with straightening one or both legs. Eventually, try resting your knees on your upper arms to get used to the pressure on your head and neck. Soon enough, you’ll be able to lift your legs toward the ceiling and rock a solid headstand.
Ready to progress to a handstand? Check out this video that shows even beginners how to nail it.
